Build Your Dream Outdoor Kitchen With These Easy Framing Plans
Outdoor kitchens have become increasingly popular spaces for backyard entertaining and everyday meals with family. Moving parts of your kitchen outdoors combines the freedom of open-air cooking with the functionality and amenities of an indoor kitchen.
While outfitting your outdoor area with top-of-the-line appliances and finishes is exciting, none of that is possible without first constructing a solid framework as the foundation. The framing provides underlying support that everything else gets built upon. Following outdoor kitchen framing plans is essential to create a structurally sound base aligned to your design.
Getting Started with Your Outdoor Kitchen Frame
The very first step when bringing your outdoor kitchen dreams to reality is deciding on the overall layout. Carefully measure the patio, deck or yard space you want to use for the kitchen. Account for any landscaping or features you want to keep intact. Mark off the approximate positions for where key appliances like your grill, refrigerator and sink will go. This allows you to visualize the general kitchen shape and traffic flow.
Determine Desired Features
Based on your available space, map out what components you'd like to include in your layout. Consider which activities are priorities for your kitchen use - grilling meats, preparing side dishes, casual dining with friends, storage for accessories and tools, etc. Think through what features would serve those uses best.
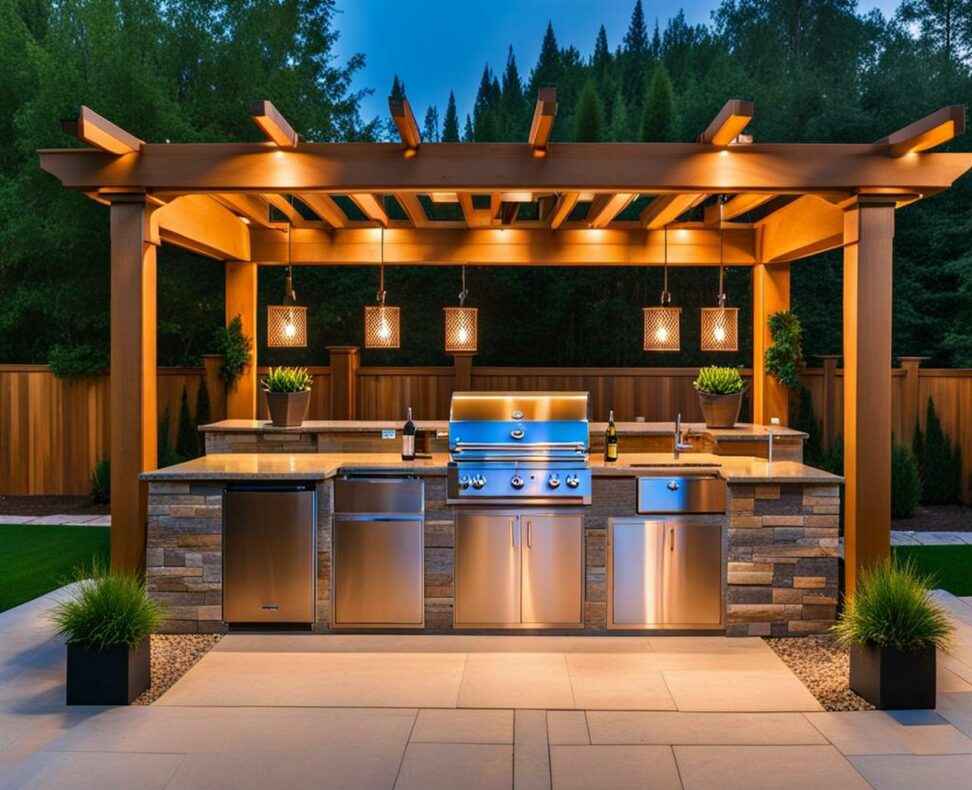
Some popular outdoor kitchen elements to account for include:
- Grill station with counters
- Bar area for beverage service
- Food prep zone with sink
- Serving buffet set-up
- Dining space for a table and chairs
- Cabinetry and storage nooks
- Pizza oven, smoker or other specialty appliances
Choose Your Materials
One of the biggest framing decisions involves selecting your primary building materials. Durability and weather-resistance are key criteria for outdoor kitchen frames exposed to the elements. Typical material options include:
- Pressure-treated lumber - Affordable option but requires sealants.
- Cedar or redwood - Naturally rot-resistant woods but expensive.
- Composite lumber - Won't warp but lacks wood's richness.
- Aluminum or steel studs - Extremely durable but conducts heat.
- Brick or concrete masonry units - Long-lasting but permanent install.
Weigh the pros and cons of each option against your budget, design style and functional needs. Combining materials is also possibility, for example a masonry base with a timber frame built atop it.
Gather Tools and Hardware
Constructing an outdoor kitchen frame requires an arsenal of essential tools for measuring, cutting, drilling and configuring structural materials. Having the right equipment for the job makes all the difference.
Useful tools for outdoor kitchen framing include:
- Power drill and drill bits
- Circular or miter saw
- Jigsaw
- Level
- Stud finder
- Sanders
- Safety glasses, ear protection, gloves etc.
You'll also need a stock of fundamental hardware pieces like:
- Deck screws, bolts and fasteners
- Joist hangers
- Corner gussets and braces
- Adhesives and sealants
Frame Construction Step-by-Step
Once you've completed the planning phase of your outdoor kitchen frame, it's time to start construction. Follow this step-by-step process for assembling a sturdy framework aligned to your design.
Lay the Groundwork
Begin by preparing the underlying ground surface area. Excavate a few inches down and create a flat, level layer of compact gravel for the base. Transfer your area measurements and outline the exact shape using stakes and string.
For more permanent frames, dig holes where support posts will be located. Pour concrete footings and embed anchors, J-bolts or rebar in the curing concrete for later attachment points. Getting the groundwork right keeps everything square and true through completion.
Build the Main Structural Frame
The primary frame needs to securely anchor all cabinetry, countertops and heavy appliances later on. Cut timber joists, concrete blocks or galvanized metal uprights to length. Assemble into the perimeter shapes you outlined on the ground surface below.
Brace wall sections by driving vertical 4x4 posts into the ground or embed into the concrete footings. Use metal connectors and water-resistant adhesives during assembly. Construct any interior divisions to create functional zones as planned.
Take care to check all joints for proper alignment, levelness and load-bearing soundness during the building process. Having a professional handle any masonry work is advisable.
Add Supports for Cabinetry & Counters
The next phase involves framing in the cabinet and countertop areas. Cut horizontal cross braces between wall studs to attach cabinet carcases eventually. Include specialty supports like extra blocking behind sinks or cooktop cutouts.
Undercounter base units require strong joints between vertical columns to handle heavy daily loads. Overhead wall cabinets should align to wall studs for direct mounting stability.
Leave space in the framing design for routing plumbing and electrical conduit once countertop layouts are finalized.
Incorporate Storage Spaces
Outdoor kitchens require ample, organized storage for cooking gear, serving dishes and pantry items. Work these needs into the framing plan by delineating spaces for built-ins like:
- Pull-out lower cabinets
- Overhead pot racks
- Vertical lockers for baking sheets etc.
- Cubbies to stash recipe books or portable speakers
- Wine racks, towel hooks and other wall-mounted organizers
Frame enclosed areas according to optimal dimensions for standardized cabinet sizing. Leave openings wherever stand-alone storage units like a mini-fridge may go.
Allow for Appliances & Accessories
The excitement of selecting that professional-grade barbecue grill or outdoor pizza oven gets seriously amplified when you've framed custom housing for it! Measure showpieces accurately and create cutouts in the frame for perfect aligned embedding.
Consider specific needs like:
- Ventilation for gas appliances
- Counter depth for built-in components
- Clearances from combustibles per fire codes
- Load capacity for heavy equipment
- Wiring runs for lighting, outlets, switches etc.
Leave gaps for handy extras like paper towel dispensers, exterior-rated speakers or hanging herb planters that personalize the space.
Finishing Touches
Before moving on to the exciting decoration stage, integrate final framing protective measures and conduct thorough quality checks.
Add Weatherproofing
Defend bare timber from nature's elements by coating with water sealants or layers of outdoor varnish. Use weather-resistant adhesives during construction. Caulk around joints, nail heads and seams.
Consider flashing, vapor barriers or insulation boards to shield interiors of certain framed enclosures if you live in extreme climates.
Inspect Alignment & Stability
Verify the dimensional accuracy and structural dependability of your framing before loading on finishes. Are corners and planes perfectly square? Do counters and walls feel solidly braced? Correct any questionable issues immediately.
Inspect that installed posts or anchors have been properly secured underground or into concrete footings.
Add Decorative Visual Interest
Even though walls and cabinets will hide most of it soon enough, the underlying frame don't need to look boring! Sand and stain timber pieces for rich color. Distress wood or beat back edges for vintage character.
Accent certain focal points with stone, brick or tile overlays. Paint, stencil or stencil personal designs for a punch of self-expression before the work gets covered up during subsequent construction phases.
Building your own customized outdoor kitchen frame from the ground up takes careful planning, methodical structural engineering and patient attention to construction order. But the payoff brings tremendous pride and excitement!
Follow outdoor kitchen framing plans for step-by-step guidance tailored to your designed layout. Stock up on necessary materials and tools before breaking ground. Measure meticulously and assemble framed components with care and precision.
The sturdy wooden framework or masonry bones that get established create the supporting backdrop that everything else relies and gets attached to after. So embrace the process and don't cut corners, even though no one may ever view those hand-constructed interior pieces again!