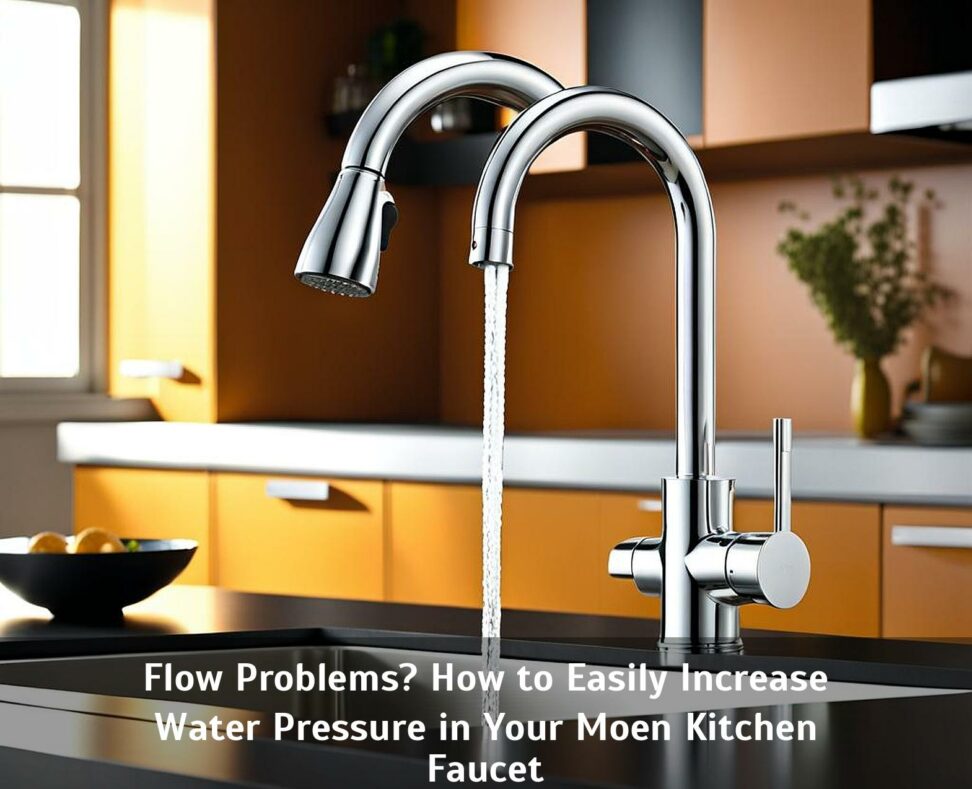
Flow Problems? How to Easily Increase Water Pressure in Your Moen Kitchen Faucet
Is your Moen kitchen faucet struggling to keep up with daily demands? Do you find yourself waiting ages for enough water pressure to fill pots or rinse dishes? Low flow from the faucet can make completing kitchen tasks feel like a chore.
The good news? In most cases, lackluster water pressure can be fixed with some easy DIY troubleshooting. By identifying the root cause and making a few adjustments, you can get your Moen faucet flowing at full force once again.
What Causes Low Water Pressure in a Moen Faucet?
There are a few common culprits behind decreased water pressure in Moen and other kitchen faucet brands:
Sediment Buildup
Over time, mineral deposits from hard water can accumulate in the aerator and internal valves. These small openings are crucial for controlling water flow. As sediment builds up, it restricts the pathways and reduces pressure.
Supply Line Problems
The condition of the water supply lines under your sink is another factor. Kinked, crimped, or corroded pipes prevent proper flow and decrease pressure. Replacing old galvanized steel supply lines with new braided stainless steel lines can make a big difference.
Damaged Internal Components
The inner workings of the faucet also influence water pressure. Small rubber washers, o-rings, and plastic cartridges become worn out and degrade over time. Replacing these internal components restores the faucet to full pressure capacity.
4 Easy Ways to Improve Moen Faucet Water Pressure
Increasing water flow from your Moen faucet is a straightforward DIY project. With a few tools and easy repairs, you can pinpoint and solve pressure problems:
Step 1: Check the Aerator
The aerator is the first place to check. This small screen screws onto the faucet spout end, blending in air to prevent splashing. Unscrew the aerator and rinse it under tap water. Carefully use a toothpick to clear any trapped sediment or mineral deposits. Also check for any blockages inside the faucet spout opening before replacing the cleaned aerator.
Step 2: Inspect the Supply Lines
Peek under your sink to check on the condition of the supply lines. Turn the shut-off valves all the way on. Kinked or crimped braided supply lines can be straightened out as needed. If you have old rigid steel supply tubes, replace them with new flexible stainless steel lines.
Step 3: Replace Internal Components
Disassembling the faucet to replace worn washers, o-rings, and cartridges restores watertight seals for improved pressure. Consult your Moen model's service manual for detailed steps. In general, you'll need to:
- Shut off water supplies and relieve pressure
- Remove the handle and dome cap to access internal parts
- Carefully extract cartridge and replace o-rings
- Reassemble the faucet
Damaged cartridges should be replaced, but you can also try soaking very clogged cartridges in vinegar to dissolve mineral deposits.
Step 4: Check Water Pressure at Main
For persistent low pressure beyond the faucet itself, there could be issues with your home's main water supply. Hook up a pressure gauge to an outdoor spigot to get a reading. Water pressure below 40 psi indicates a problem needing professional attention.
Call your municipal water department or a plumber to check for leaks, clogs, or other problems reducing overall water pressure to the house.
Diagnosing Pressure Loss in a Moen Faucet
How can you tell if your Moen faucet needs pressure-boosting repairs in the first place? There are a few telltale signs of insufficient water flow and pressure:
Slow Stream
The most obvious symptom is a slower than normal stream of water from the faucet. Routine tasks like washing produce or filling pots take much longer. The water dribbles out without any force.
Inability to Run Multiple Faucets
Low pressure means less ability to operate multiple fixtures at once. For example, running the kitchen faucet causes the shower stream to become weak.
Temperature Fluctuations
Another sign of low water pressure is inability to maintain stable hot or cold water temperatures. The stream turns scalding or frigid as pressure drops.
Dripping or Leaking
Consistent drips or leaks near the faucet base indicate worn washers or o-rings that cannot adequately stop water flow. Replacing these parts restores water pressure.
Typical Moen Kitchen Faucet Pressure Specs
As a guide, here are the normal water pressure parameters for Moen kitchen faucets:
- Operating pressure range: 20 - 125 PSI
- Recommended functional pressure: 60 PSI
- Minimum flow rate: 1.5 GPM
- Maximum flow rate: 2.2 GPM
If your Moen faucet is falling short of these benchmarks, it's time for a pressure upgrade. Most issues can be resolved with basic DIY repairs described above.
When to Call a Plumber for Low Water Pressure
While most Moen water pressure fixes are straightforward, it's wise to call in a professional plumber if:
- Pressure loss persists after trying all DIY repairs
- The main home water pressure is below 40 PSI
- Significant mineral scale needs scrubbing from pipes
- The entire faucet unit needs replacement
For complex diagnostics and repairs, rely on the expertise of a licensed plumber. They have the skills and tools to systematically restore proper water pressure.
With this comprehensive guide, you can banish frustratingly low water pressure from your Moen kitchen faucet. Carefully inspecting the aerator, supply lines, and inner valve components will reveal the source of the problem.
In many cases, a simple DIY repair like replacing a worn cartridge or supply tube allows you to boost pressure back to satisfactory levels. Maintain your Moen faucet to prevent low pressure issues from cropping up again.
Don't tolerate ineffective dribbles and spurts from your kitchen faucet. Take action to diagnose and fix flow problems, so water flows freely once more.