Stop That Leak! Replace Your Outdoor Faucet Handle with This Easy Tutorial
Is your outdoor faucet dripping constantly, causing your water bill to skyrocket? A leaky outdoor spigot is not only annoying but can also lead to costly water waste and potential damage if left unrepaired. Replacing a faulty outdoor faucet handle is an easy DIY project that can stop the leak in its tracks!
In this step-by-step tutorial, we'll walk through everything you need to know to successfully replace the handle on your outdoor spigot. With just a few basic tools and a replacement handle, you can stop that leak and restore full function to your outdoor faucet in no time. No need to keep reaching for your wallet every time you get your water bill - let's fix that drip!
Things You'll Need Before Starting
Replacing an outdoor faucet handle requires just a few simple tools and supplies. Here's what you'll need to complete this easy DIY project:
- Replacement handle - Make sure it's compatible with your existing faucet
- Adjustable wrench
- Flathead screwdriver
- Rag or towel
- Teflon tape
- Flashlight - For visibility if working in tight spaces
- Gloves - To protect your hands
Before selecting a replacement handle, check to see if you have a compression or ballcock style faucet. This will determine the type of handle needed. Take the old handle to the hardware store to ensure an exact match.
Shutting Off the Water Supply
Before starting the handle removal process, you'll need to shut off the water supply to the outdoor faucet. This prevents any water from spurting out when you detach the old handle.
Locate the indoor shut-off valve for the outdoor spigot line. It's usually found near where the pipe exits the house. Turn the valve clockwise until it's fully closed.
Turn on the outdoor faucet to drain out any remaining water in the line. Let it run for a minute or so after the flow stops to ensure it's completely empty.
Repeat this process to shut off all outdoor faucets if you have more than one that needs a new handle. It's better to be safe than soaked!
Safety First - Confirm Water is Off
Before starting the handle removal process, double check that the water supply is fully shut off. Turn the outdoor faucet back on to verify no water is flowing. It's an important safety step!
There will likely be some water residue left in the line. Have a rag or towel ready to catch any drips.
The edges of the faucet and handle may also be sharp after years of use. Wear gloves to protect your hands during the replacement process.
Removing the Old Outdoor Faucet Handle
Once the water is safely shut off, it's time to remove the faulty handle. Taking off an old, rusty faucet handle can require some muscle, but have patience and follow these steps:
Detach Any Hoses or Splitters
If you have a hose, sprinkler head, or any other accessories attached to the outdoor faucet, unscrew them first. This allows you full access to the handle.
Shut off and detach any attached handheld sprayers. Disconnecting all attachments ensures no unwanted leaks as you work.
Loosen and Remove the Handle
Use a flathead screwdriver to loosen and remove the screw holding the handle in place. Turn counterclockwise to loosen it. If the screw is stripped or stuck, you may need to drill it out .
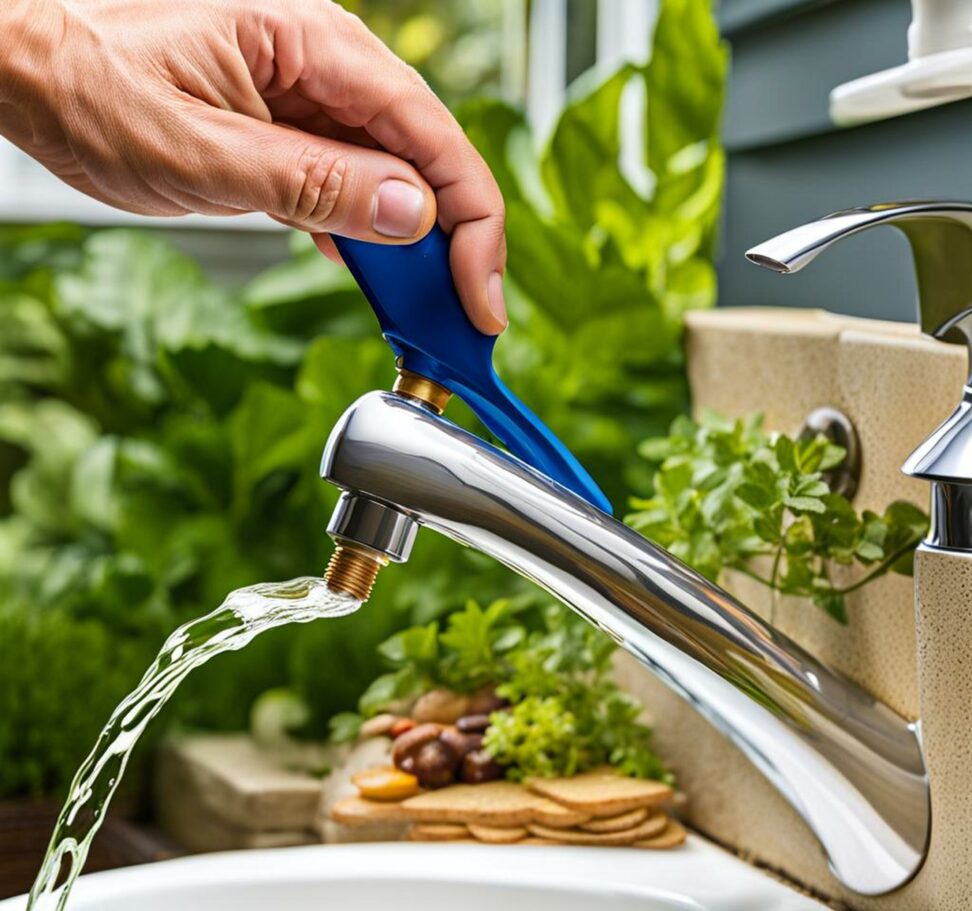
Once detached, pull the old handle away from the faucet body. Wiggle it gently side-to-side while pulling if it's stuck.
For handles with a set screw on the side, simply loosen the screw and slide the handle directly off the faucet.
If needed, spray lubricant around stuck handles and give it 15 minutes to penetrate before trying again.
Inspect Closely for Any Damage
With the old handle removed, take a close look at the exposed faucet area. Check for any signs of damage like:
- Corrosion on the handle seat or stem
- Dripping from the packing nut or stem
- Leaking at the point where the supply tube connects
Damage limited to the handle and washers may only require replacing those parts. Leaks at joints indicate a full faucet replacement may be needed.
Installing the New Outdoor Faucet Handle
The prep work is done - now it's time for the fun part! Follow these steps to install a new handle and stop that drip for good:
Clean and Prepare the Faucet
Use sandpaper or steel wool to smooth any rough, corroded areas on the faucet seat and stem. This allows the new handle to form a tight seal.
Wrap plumber's Teflon tape around the threads to prevent leaks. Overlap by at least 1/2 inch as you wrap.
If the old washers are worn, replace them now. Also replace the packing nut if corroded.
Attach the New Outdoor Faucet Handle
It's time for the moment we've been waiting for - installing the new handle! Here are a few tips for smooth sailing:
- Hand tighten the handle initially before fully tightening with a wrench
- Align it correctly before tightening - nothing worse than a crooked handle!
- Take care not to overtighten or strip the screws
Refer to the manufacturer instructions for your specific replacement handle on proper installation. Most just involve sliding it into place and tightening the retaining screws or nut.
Turn the Water Back On and Test for Leaks
The finish line is within sight! Turn the indoor shut-off valve counterclockwise slowly to restore water flow to the outdoor faucet.
Check around the newly installed handle for any drips or leaks just to be safe. Also inspect connections with the supply line.
Turn the faucet on and off several times and observe water flow. The handle should move smoothly and easily with no leaks.
Reattach Your Garden Hose and Accessories
If you removed a garden hose or other attachments before starting, screw them back into place now.
Test any connected sprayers or splitters to make sure they are working properly with no obstructions.
Clean Up the Work Area
Give the faucet area a wipe down to remove any dirt and debris from the replacement process.
Properly discard any old washers, packing material, or the broken handle.
Coil up any tools and store them until the next use.
Tips for Maintaining Your Outdoor Faucets
Regular maintenance keeps outdoor faucets working properly for years to come:
- Inspect washers and o-rings annually, replacing if worn
- Lubricate stems and o-rings with non-petroleum grease
- Clear any debris from the faucet head
- Detach hoses in winter to avoid freezing
- Insulate pipes or install frost-proof faucets in cold climates
Catching small problems early prevents having to replace the entire faucet down the road.
Look at you with that shiny new handle installed like a pro! take pride in accomplishing this easy fix and saving the aggravation and cost of those constant leaks.
No more annoying drips disrupting your peace and increasing your expenses. Just turn and enjoy water on demand for all your outdoor needs.
Our step-by-step guidelines made replacing your outdoor faucet handle a breeze. Keep this tutorial handy for the next time your faucet requires a little TLC. Let us know if any questions come up during future repairs.
Now relax and go appreciate that perfectly functioning outdoor faucet without reaching for your wallet! And don't forget regular maintenance to prevent needing another replacement any time soon.